Quick Start
Get started with Karrio - set up carrier connections, generate label and track shipments in minutes.
The easiest way to get started with Karrio is to set up carrier connections from the dashboard to process shipping transactions.
Follow these steps to process your first shipping transactions:
- Set up a carrier connection
- Generate a shipping label
- Track a package
Set up carrier connections
To set up carrier connections, follow these steps:
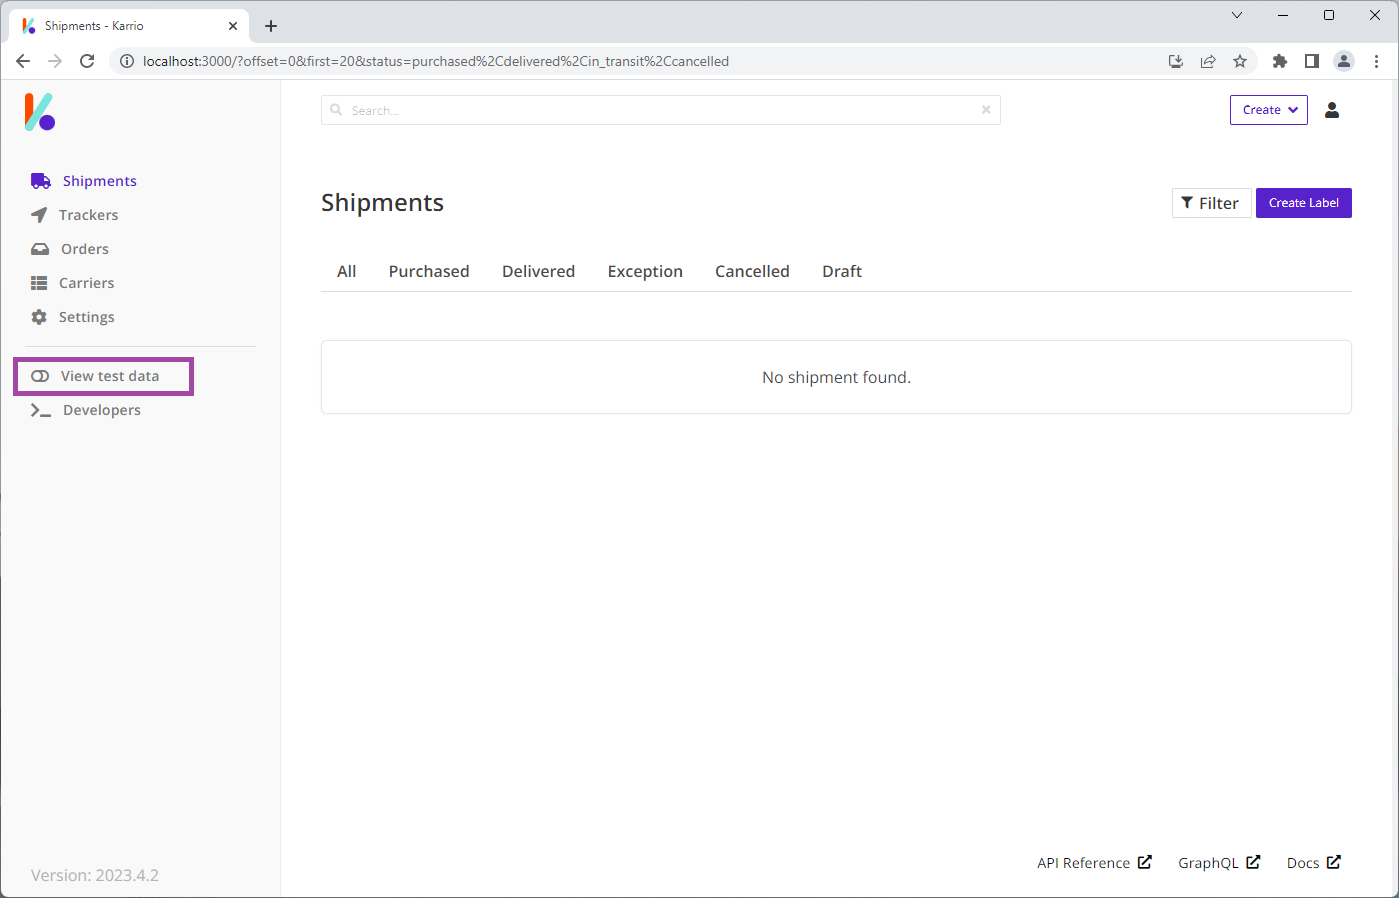
1 - Log in to your Karrio account.
Once logged in, we will switch to test mode by clicking on the View test data menu to work with karrio in test mode calling carrier sandbox APIs.
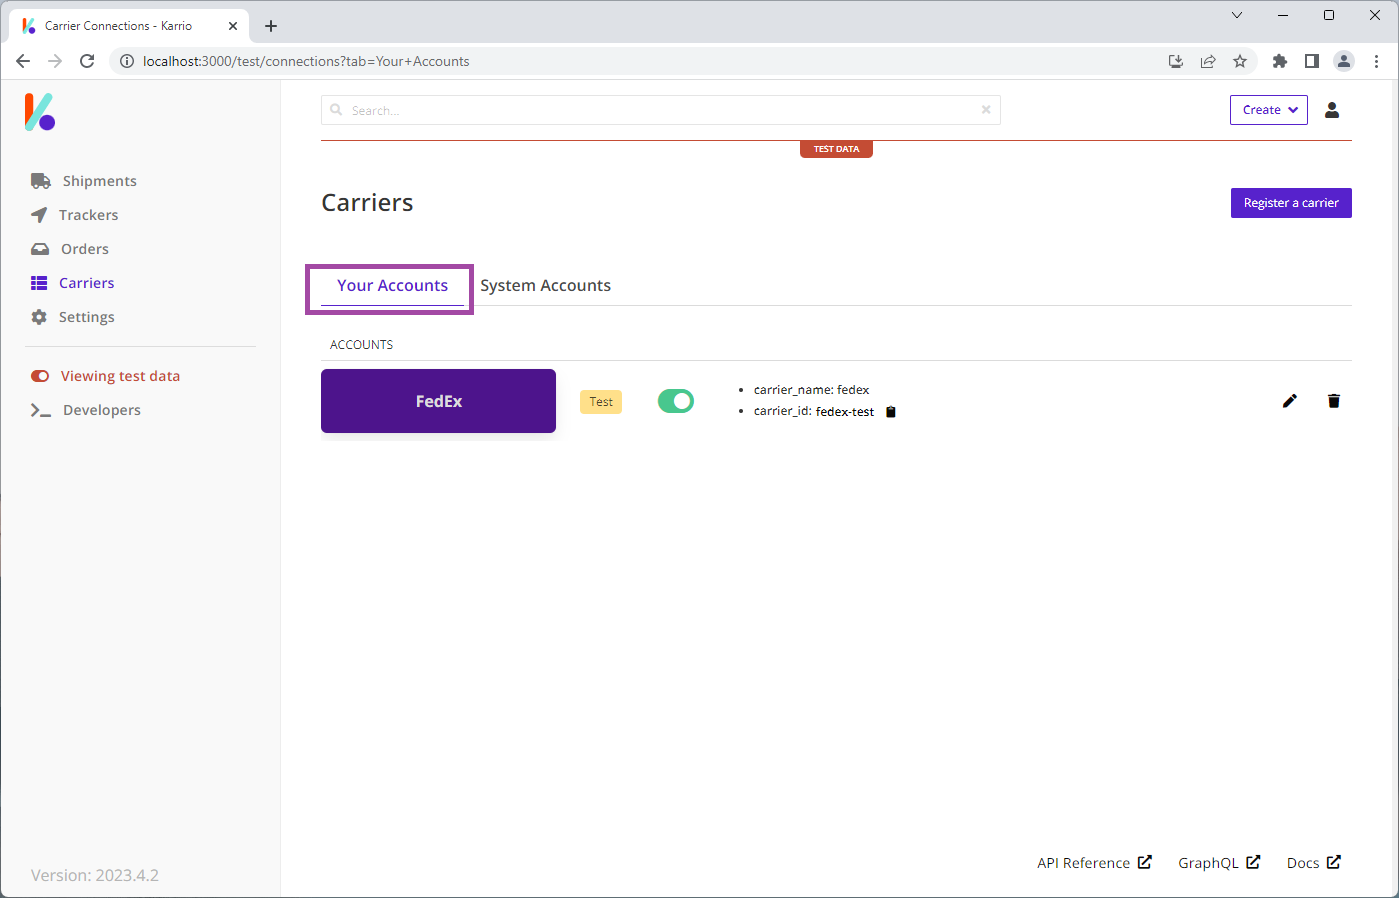
2 - Click on Carriers in the left navigation bar.
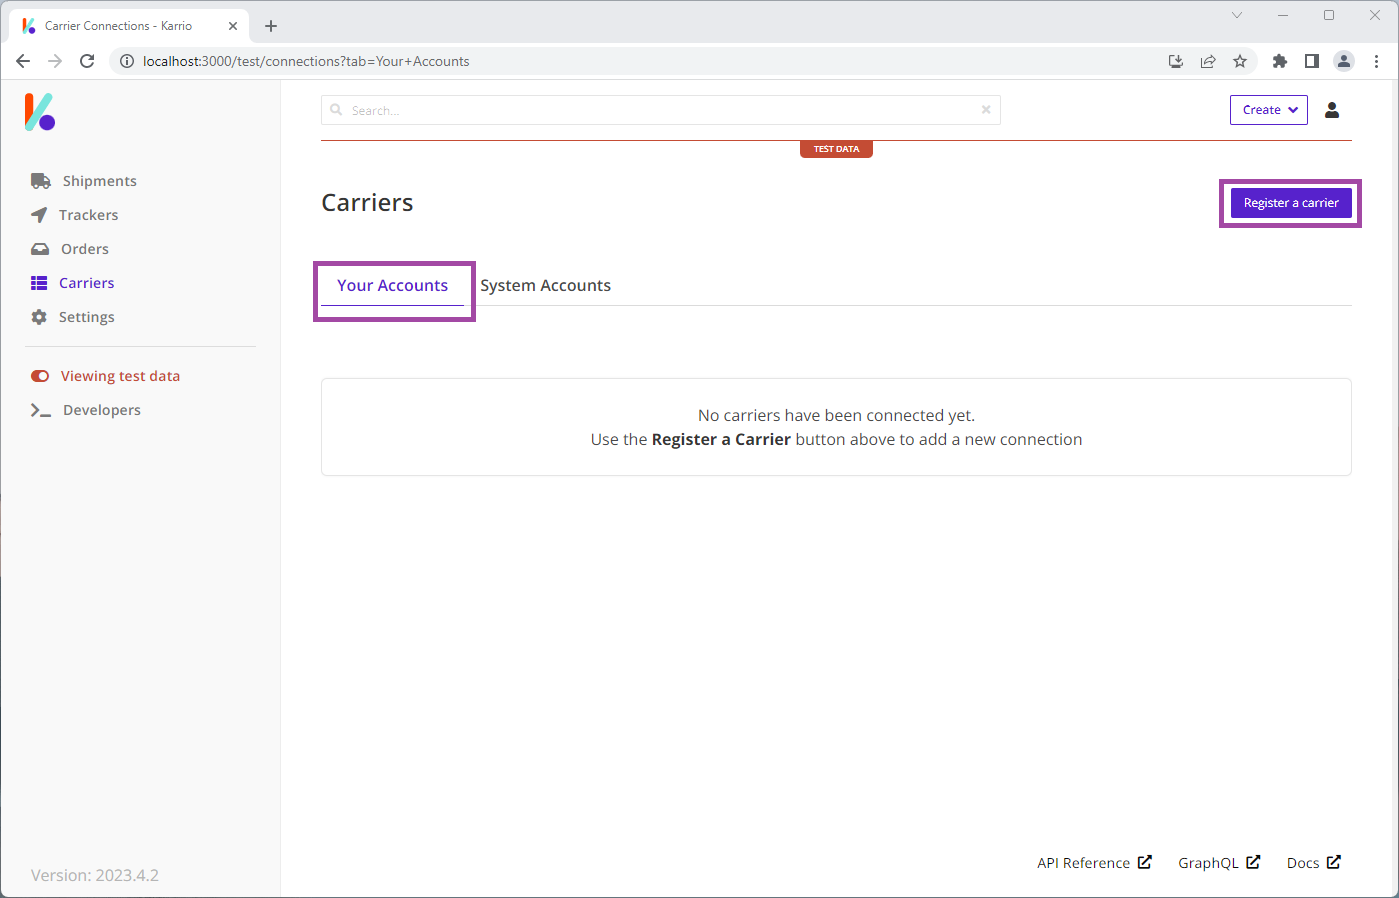
3 - Click Register a carrier to set up a carrier connection.
4 - Add the carrier account and credentials and click Submit.
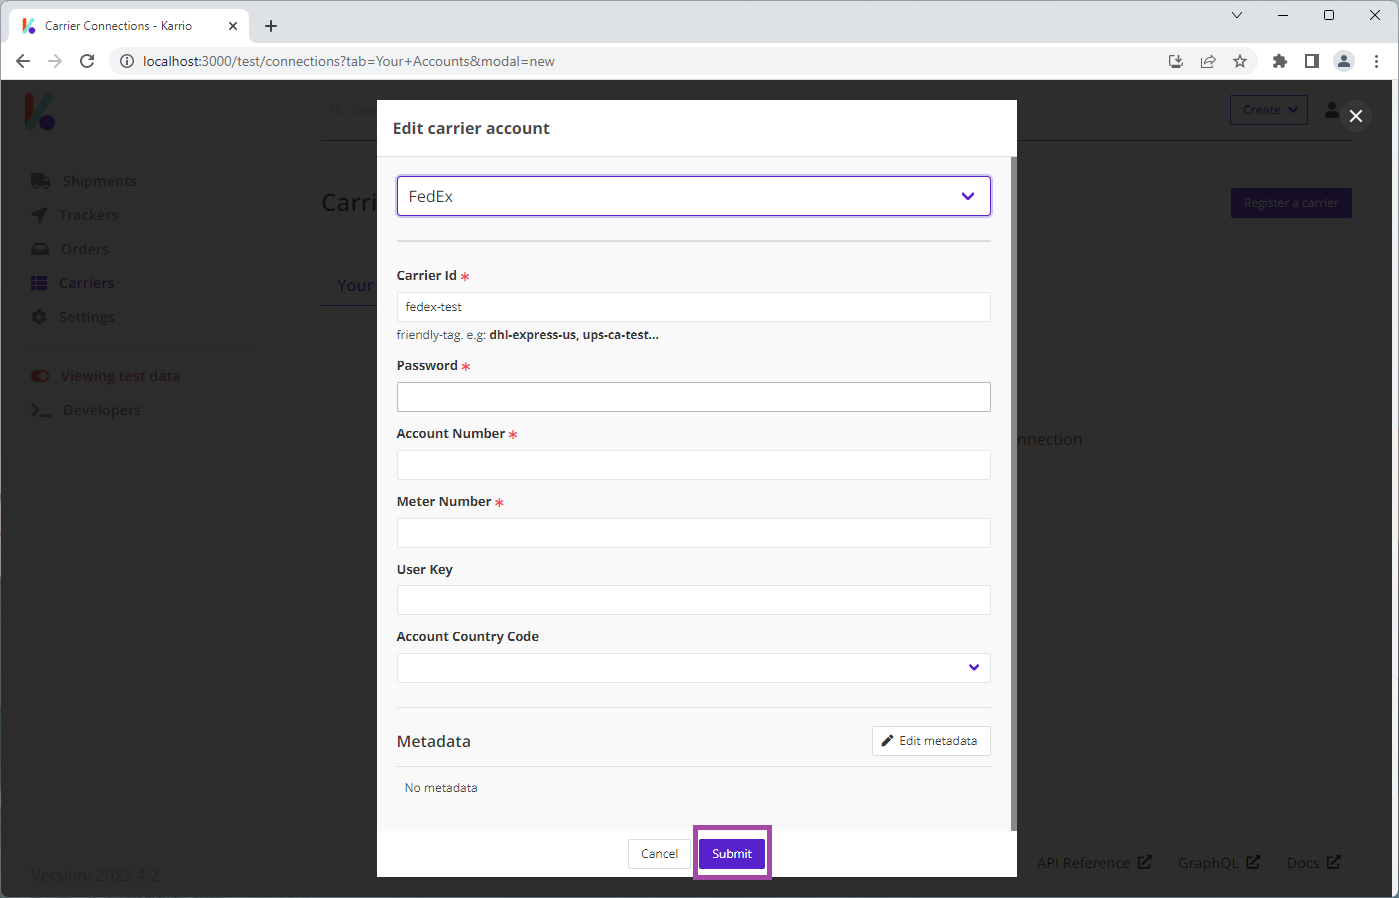
5 - Make sure the carrier connection is active.
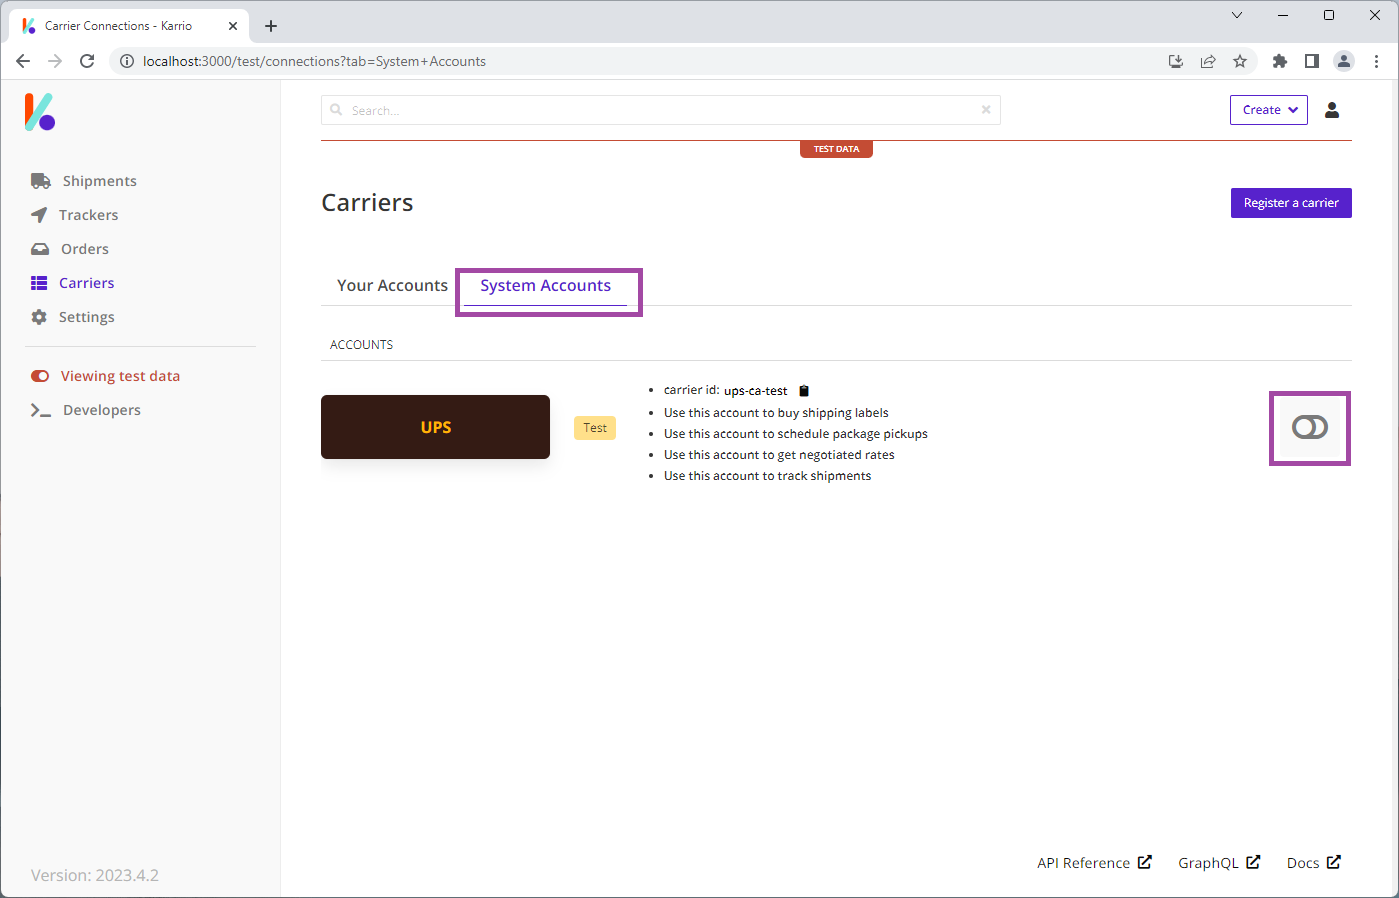
6 - You can also enable system carrier connections available to all Karrio users.
Generate a shipping label
Once you have set up carrier connections, you can now use those connections for shipping transactions.
To generate a shipping label, follow these steps:
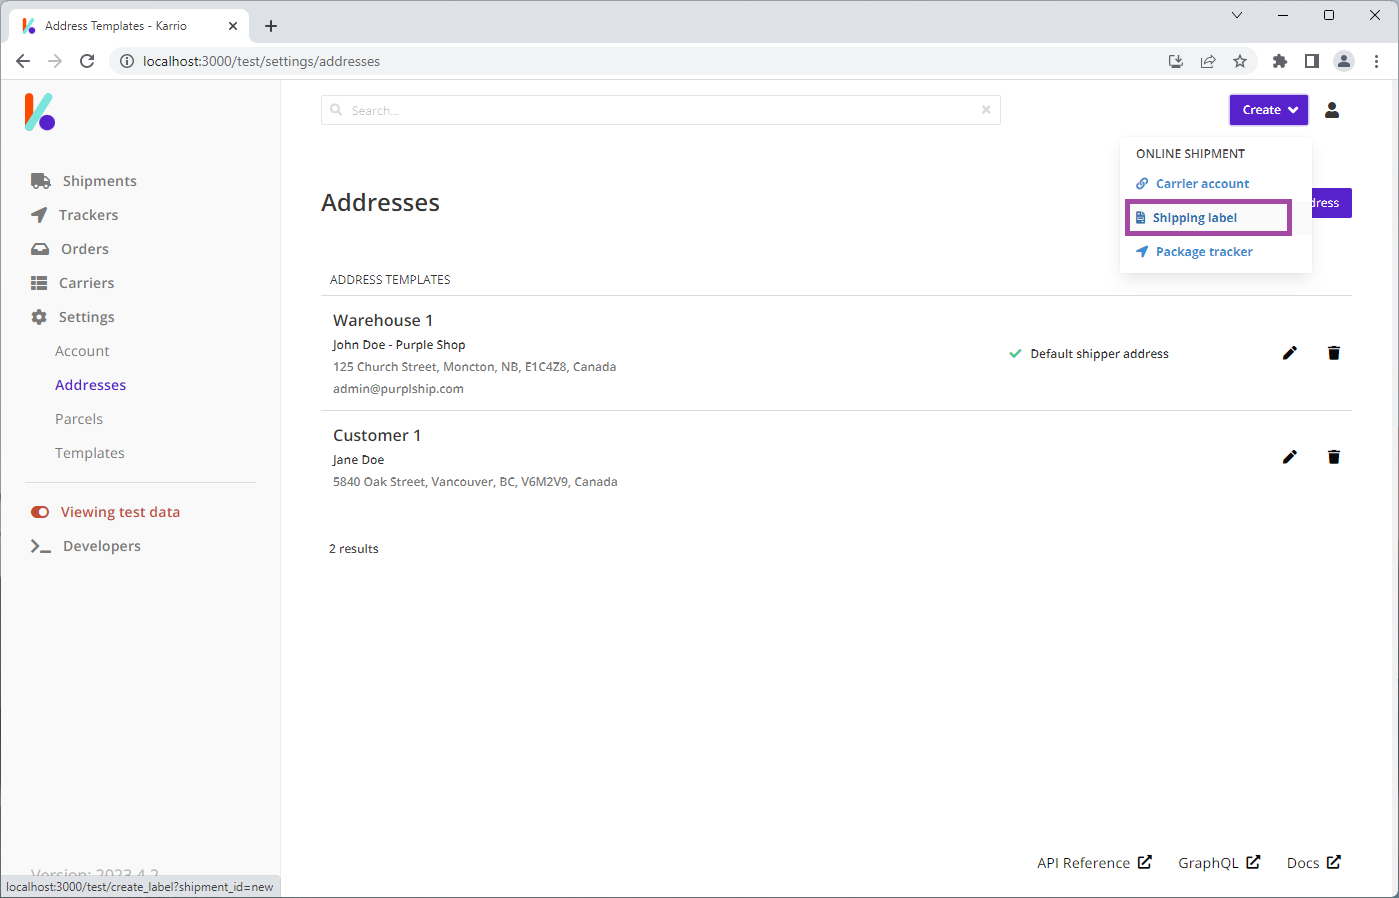
1 - Click on Shipping label from the Create dropdown menu on the top bar.
2 - Enter the Recipient and Shipper addresses to get live rates.
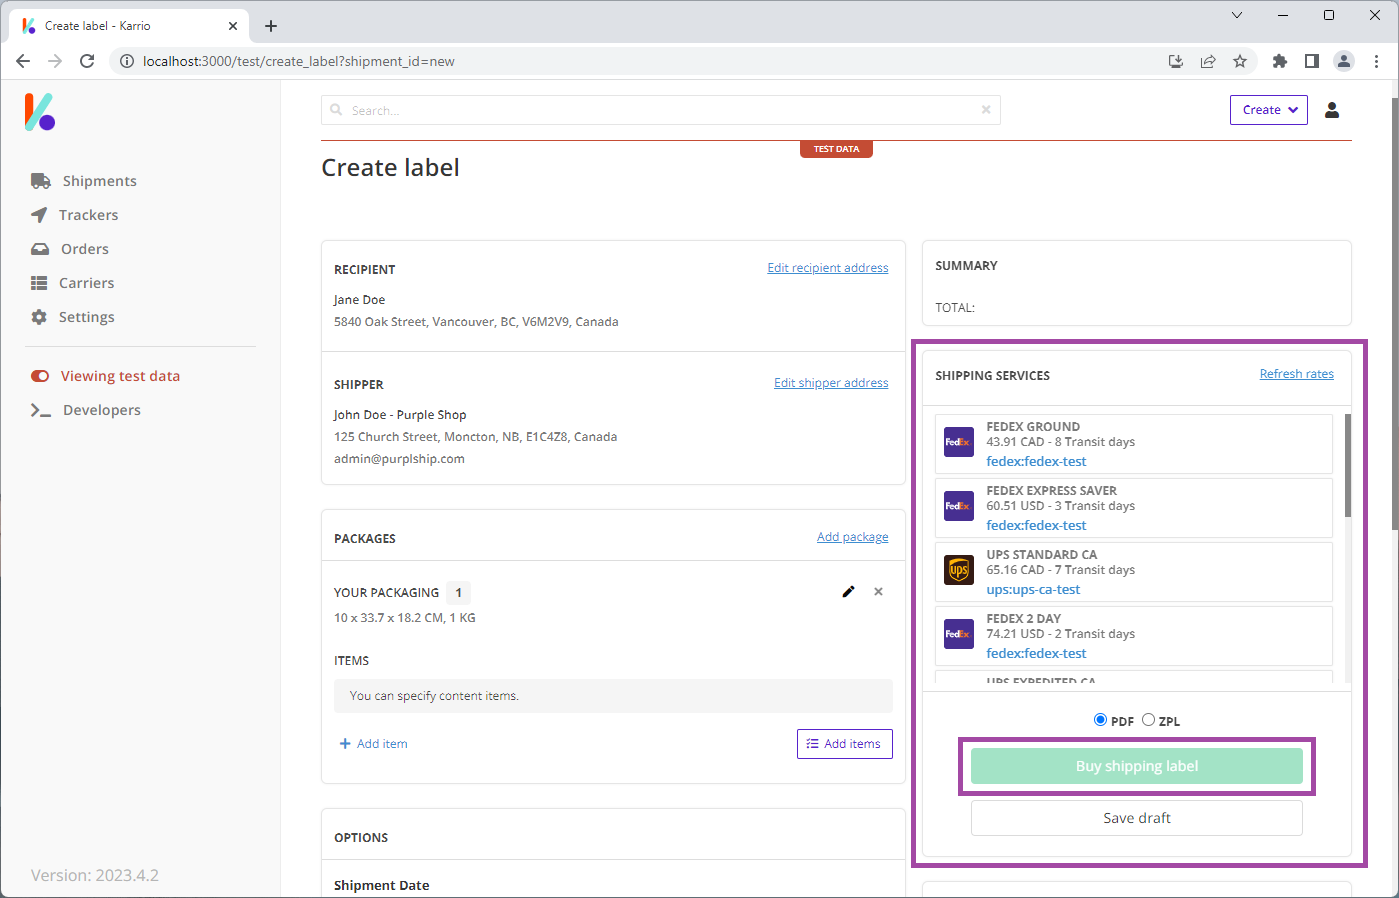
3 - Select your preferred shipping service rate and click Buy shipping label.
You will get redirected to the shipment details page
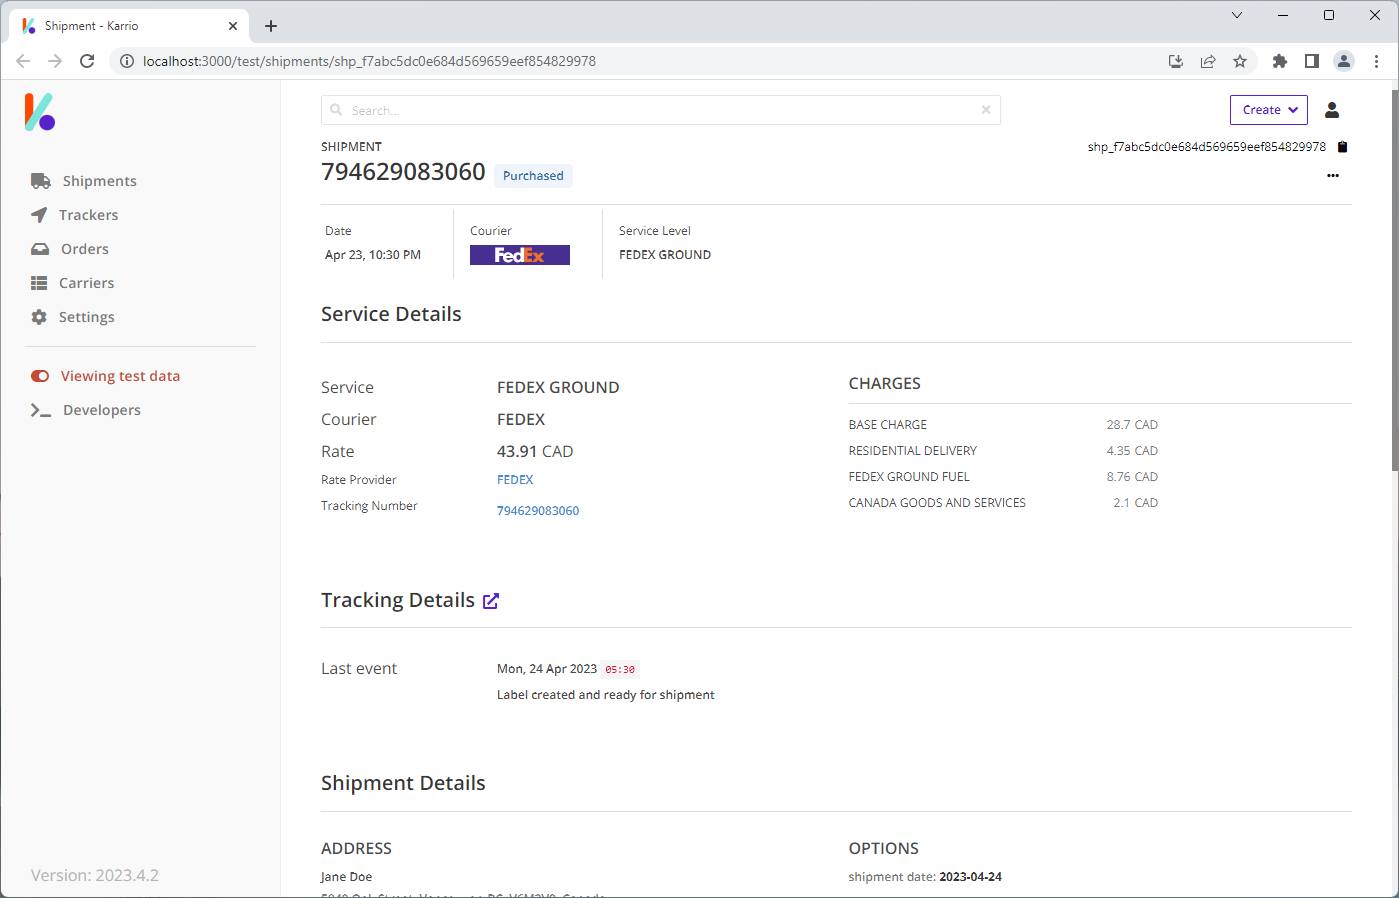
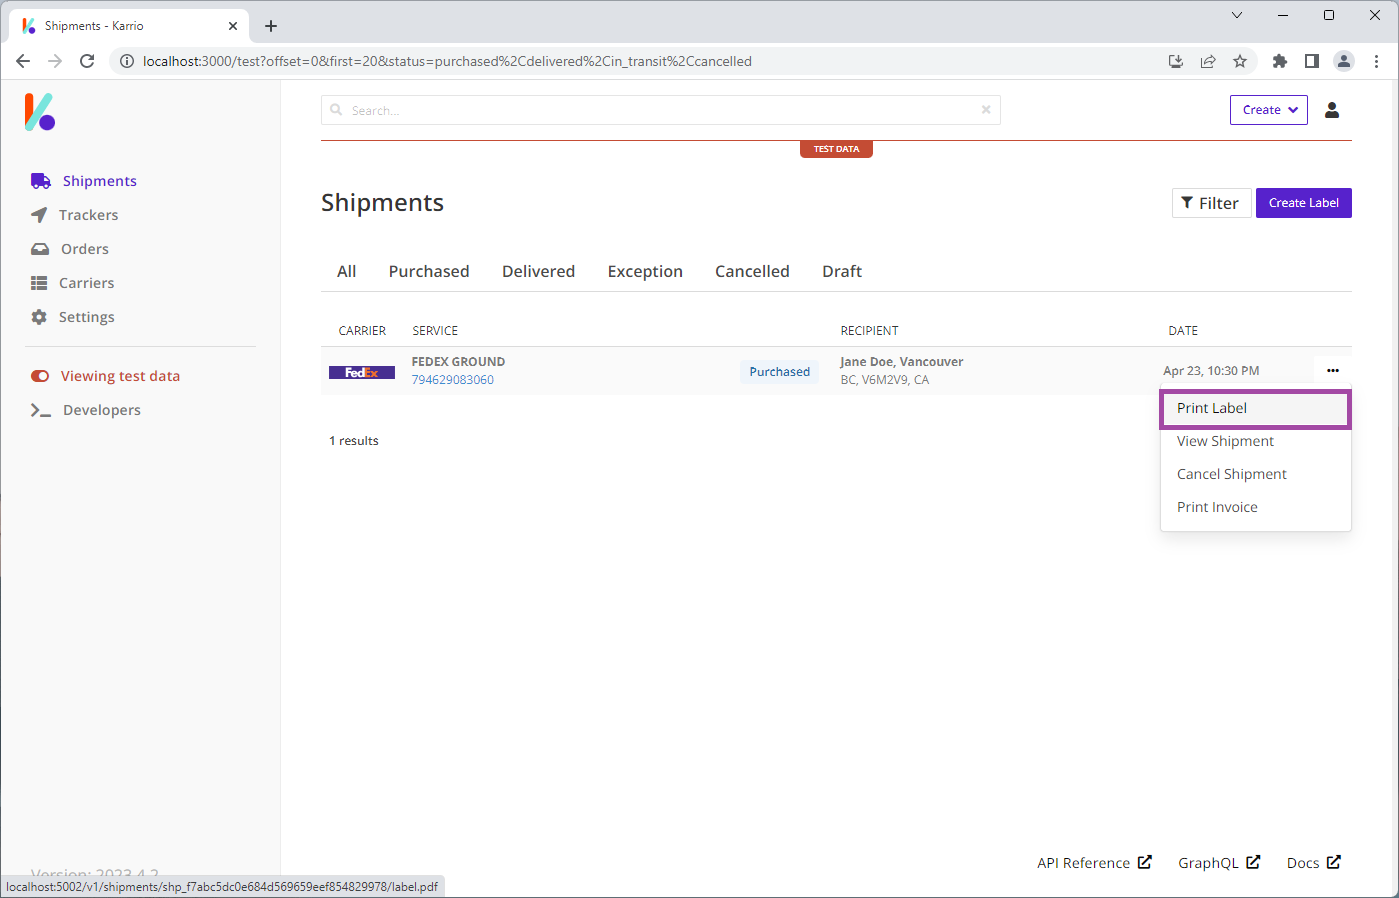
4 - Click Print label to download and print your shipping label.
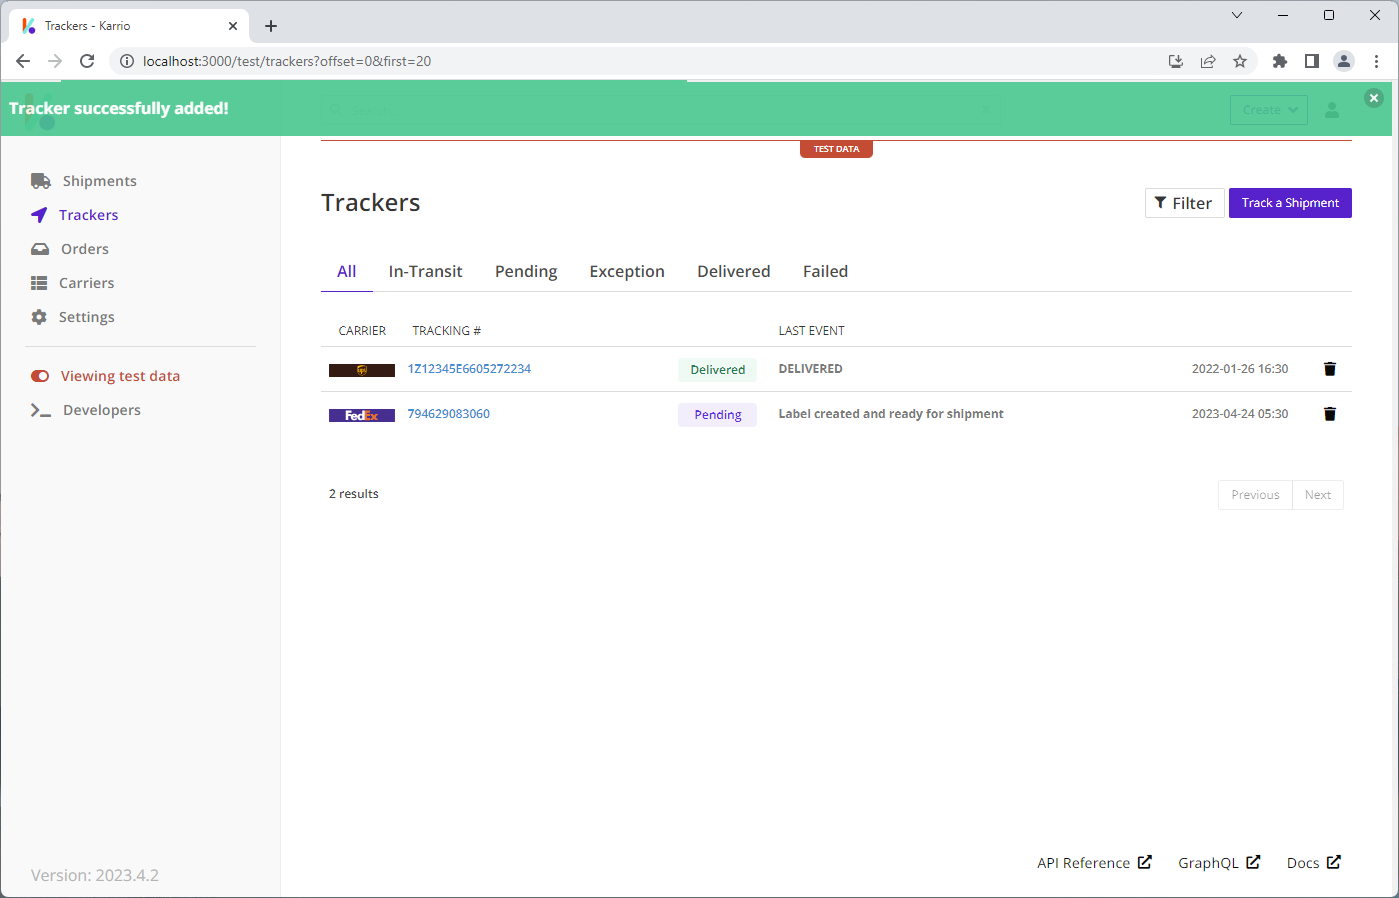
Track a shipment
1 - Click on Trackers in the left navigation bar.
Notice that the shipment you created in the previous step has an associated tracker.
2 - Click Track a shipment to create a new tracker for any valide shipment.
3 - Enter a tracking number and select the corresponding carrier connection then click Submit.